
As requested, I have finally finished my claws and am ready to provide a tutorial on just how I made these for my Batman Returns Catwoman Cosplay. It took me about two days to make these claws. They look good, they’re pretty light, and—most importantly—these claws are convention-safe!
What you will need:
- 10 thimbles, style of your choice
- Silver Krylon Metallic paint (top coat)
- Black Krylon paint & acrylic paint (for base coat and detailing)
- 1 small sheet of Wonderflex – (My friend Chkai gave me about a half of a foot sheet to tinker with and I found it was more than enough to use to make all 10 of these claws)
- Heat gun
- Paper towels
- Mod Podge (Doesn’t matter if it’s gloss or matte)
- Scissors
- E6000 Super Glue
- Gloves of your choice
- Varnish (I used Varathane – gloss)
Let’s Mold!
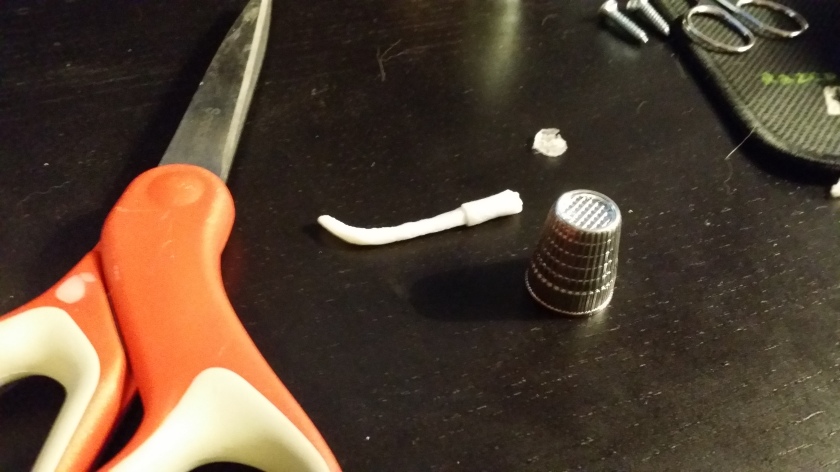
Your first step to starting the claws is going to be cutting out the shapes. I focused first on the thumbs because I wanted them to be one of the more unique looking pieces. For this, I cut out little strips and heated these pieces with a heat gun until the material became soft, then I rolled them between my fingers until they were rounded all of the way and bent them to give them sort of bendy-metal kind of look.
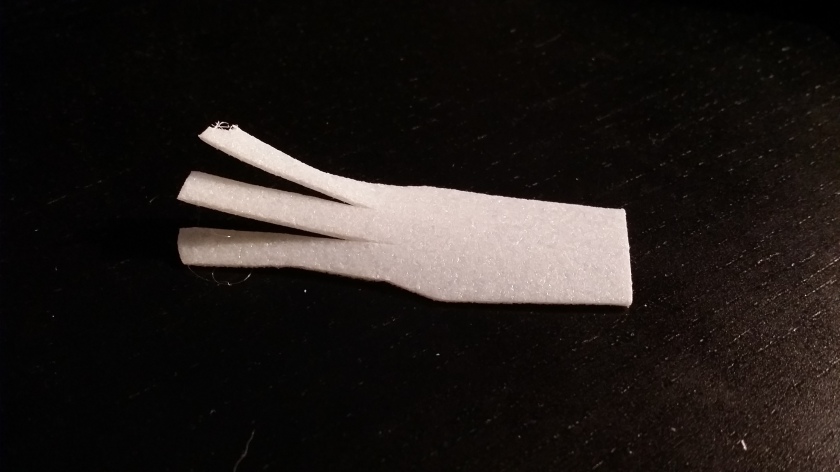
When you do this, feel free to add some overlaying pieces as you go. As you’ll see in the picture below, I ended up also wrapping one end with more Wonderflex to give it more dimension.
Continue cutting out your pieces. You don’t have to make your claws look symmetrical since Pheiffer’s Catwoman is all about going for a messy look. My shapes aren’t technically accurate to how her actual claws look either, but I used references of her gloves to get an idea of how I wanted to interpret them into my own style.
How you want to make these items stick is entirely up to you. You can use E6000 if that’s what you want. What seemed effective for me however was to heat up the base of the Wonderflex shape as I went and “rubbed” it onto the metal until it stuck.
To do this, cut the shape in a way so you have enough material available that it will have enough surface to stick to the outside of the thimble. Heat up the shape you’ve made and then begin rubbing the Wonderflex, center-outward to make the edges stick to the ridges. Use ample pressure.
Here’s a video I took of the process which illustrates how I did this.
NOTE: If it doesn’t stick, it never hurts to use a little superglue.
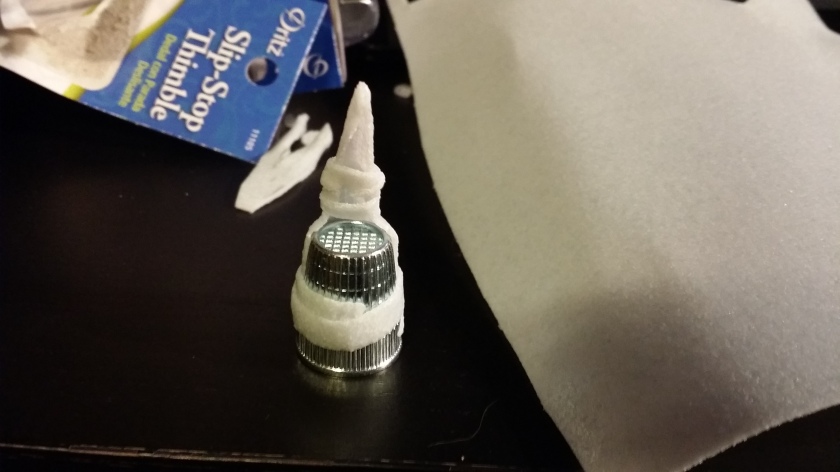
One final step you may want to consider while molding is cutting small strips to wrap around the base of the thimble and your claw. As seen here. It helps there to be more holding the claw and the thimble together, and it looks a bit more convincing once these are painted.
Once you have finished each thimble, you’ll have an interesting assortment of claws. Your next step will be to brush over the plastic parts with Mod Podge. This will help to cover up a majority of the spore and take away some of the rigidness of the pieces.
I did about three coats of Mod Podge. You may choose to do more or less.


Let’s Paint!
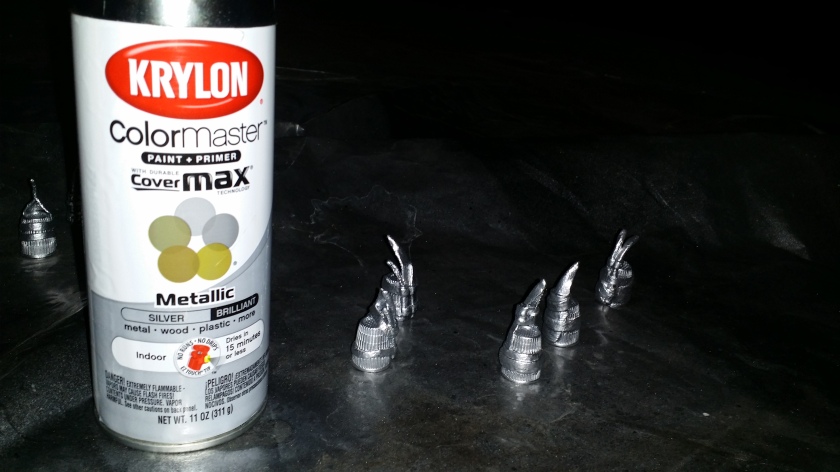
You may decide to skip this step though I found that it’s easier for the silver color to take if there is a darker base. I used some Krylon Black spray paint to cover the entire outside of the thimble.
Once the black had dried, I then went over the claws again with Krylon Metallic silver spray paint.
I have tried using different brush-on acrylics in the past, but I think Krylon has so far done the best at giving off a metallic finish.
Let’s Detail!
Now comes an important part to making these claws really POP!
The first thing you’re going to do is ready your acrylic paint. Mix a little water in with your black paint. It should not be super runny, just a few drops will do. Mix the water in with your paint.
Once you have your mixture ready, dip a paper towel into the mixture and start rubbing the thimble and claw with it. The point of rubbing the claws with dark paint is to give the metal a worn look. This also helps to accentuate details.
To show you how this looks as you go, here is another recording of my process.
Again, this may be another step you may choose to ignore. However, I feel “distressing” these claws with black paint helps to give these a worn look. Catwoman’s claws should look like they’ve been used. And the black paint helps to give the claws a pounded-metal look.

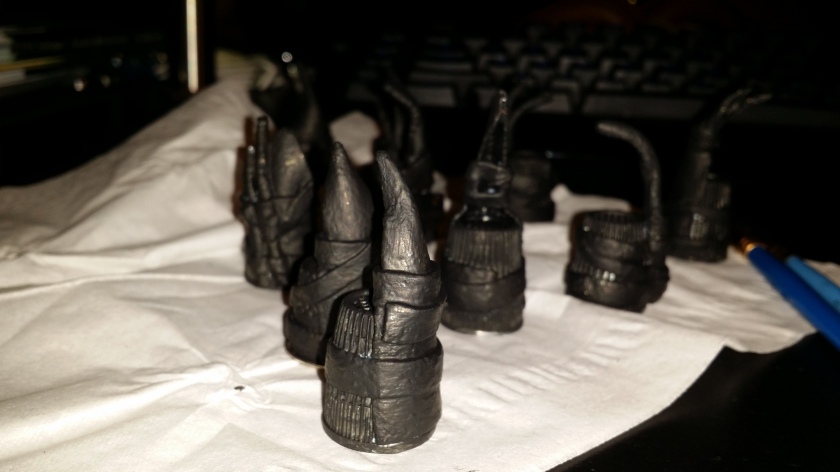
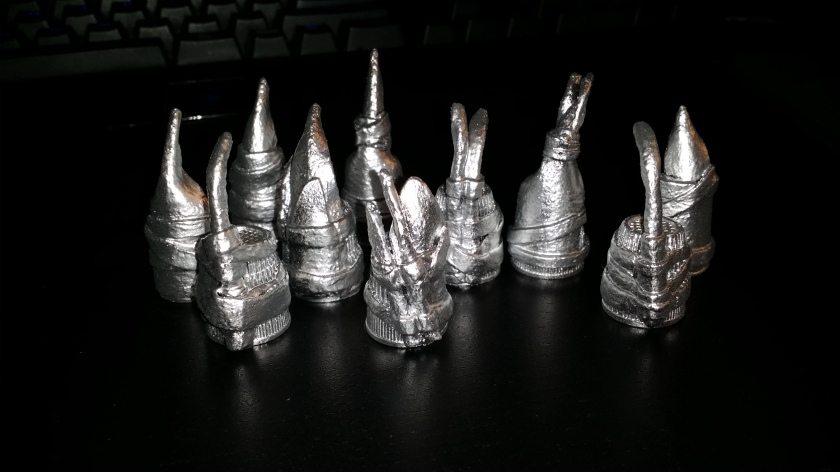
One of the final pieces of detailing that you will be doing is accentuating those dimension you made in Wonderflex with black acrylic paint without water mixed in, and painting each of these lines in black paint. When you’re finished, your claws should look a little something like this.


Finally, you should seal these claws with some sort of varnish. I used water-based Varathane in gloss, because I wanted to keep the shine to these claws.
After a couple of coats, this was the result.

![20150909_194247[1]](https://i0.wp.com/circesisters.wordpress.com/wp-content/uploads/2015/12/20150909_1942471.jpg?w=416&h=740&ssl=1 "20150909_194247[1]")
Let’s Glue!
Now that you are done with the claws, you are officially ready to wrap these puppies up! I bought a pair of 4-way stretch gloves for $44.00 on Etsy, which you can find the review for here since I wanted a pair that I knew would fit correctly the first time. But you may choose to go with something a bit less expensive.
To glue the thimbles to the gloves, I used E6000. I did not use hot glue since I wanted these thimbles to stick well the first time. I put a little E6000 on the inside of each thimble and (wearing the gloves) placed the thimbles on each finger, letting the glue dry just enough that the outside of the gloves adhered correctly against the inside of the thimble. After I was certain the vinyl was sticking correctly, I took the gloves off carefully and let the glue do the rest.
Let’s LOVE It!!!
After a couple of days of letting the glue dry (to make sure it had dried completely) these gloves were ready!


The nails are held firmly in place, and with the way the Wonderflex sticks to itself and the metal I do not feel that I have to worry about these claws possibly coming apart (which ended up being a problem in a past build of mine which was composed of metal pieces).
The most important part about building these claws was needing them to be convention safe. These claws are dull but very durable, so you don’t have to worry about them hurting someone or breaking.
I hope that this tutorial has proved useful for those that are looking to undertake a Catwoman cosplay in the future.
If anyone has questions, feel free to comment below. I’d love to help!
Also, be sure to follow our progress on Facebook at:https://www.facebook.com/CirceSistersCosplay
Come visit our Youtube channel to view our reviews, events, and tutorials!
https://www.youtube.com/channel/UCVk4ccmU8YvKxHBgJ9EXtYQ/videos
“I am Catwoman, hear me roar!”
